How to Create Tabletop Containers
Spruce up your outdoor dining and entertainment spaces with decorative planted centerpieces
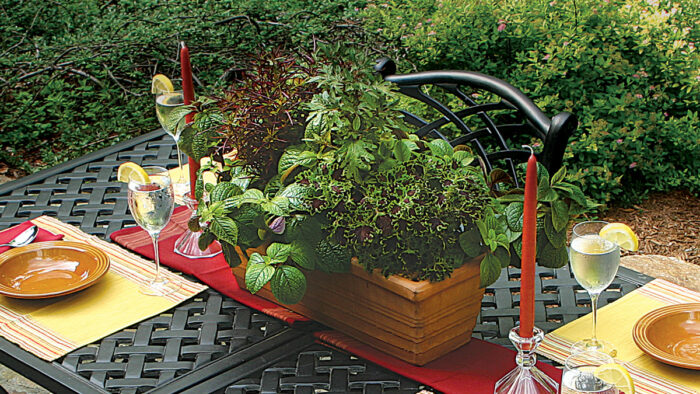
Because many of us are spending more time dining or entertaining in our outdoor spaces, we are also on the lookout for creative ways to spruce up and enjoy these settings. Adding decorative furniture, structures, and linens is a good place to start. I like to take decor a step further by accessorizing with tabletop containers.
These portable centerpieces are a great way to introduce color and style to any table. Putting these pots together certainly isn’t rocket science, but it requires some thoughtful planning. Design is important but so is functionality. The art of creating effective tabletop containers goes beyond providing potted plants with the right light, nutrients, and water. Practical considerations, such as how long you plan to showcase the container and where you intend to display it, play a role in helping you make the best decisions.
Color makes the first and most lasting impression
Keep in mind the table elements and surroundings—such as furniture, carpets, walls, and decorative objects—and choose compatible colors that suit the occasion.
Consider shelf life first
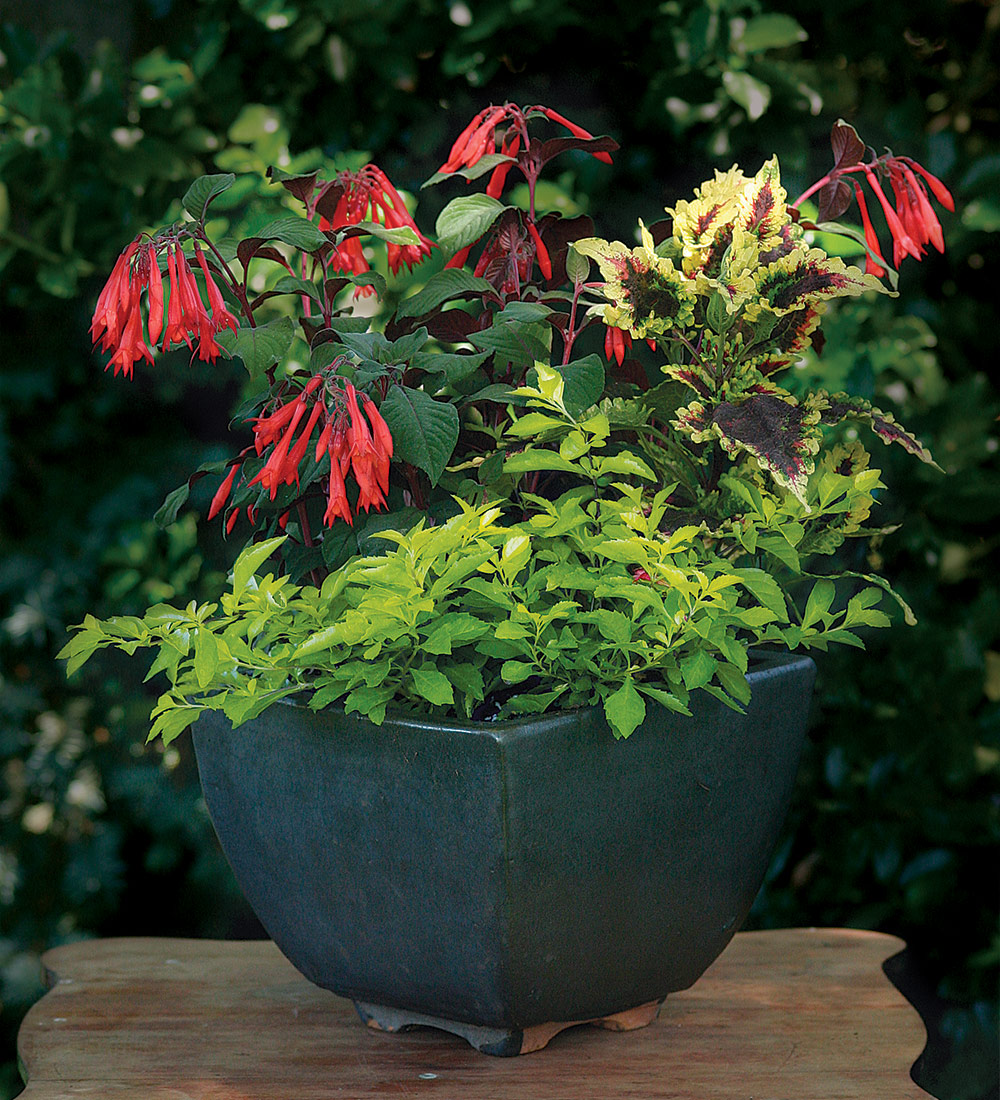
Before you even step foot in the garden center, ask yourself an important question: How long do I want this container planting to look its best? If you’re hoping for a container that serves as a showpiece for a few weeks or longer, you must give more attention to the selection and care of the plants. But if your creation needs to impress for only a single event or over the course of a few days (such as a dinner party or weekend celebration), almost anything goes.
While long-term containers require more thought and effort on your part, they hold the potential of providing a great deal of enjoyment over a relatively long time. When choosing plants, consider their light, water, and temperature needs as well as maintenance issues, such as pruning, deadheading, and staking. Combine like-minded plants for the best results and for the fewest headaches and disappointments. For long-term displays, be prepared to fertilize and selectively prune exuberant growers, such as coleus, and don’t expect every flowering plant to bloom every day. In addition, consider protecting your table. Use an unobtrusive plastic or glazed ceramic saucer to catch excess water from your pot’s drainage holes. It’s also a good idea to tuck some plastic wrap under any pot or saucer to prevent damage from moisture and scratching.
A short-term container composition, on the other hand, can be thought of as a flower arrangement with roots. As long as the container can accommodate the plants and you pay attention to their watering needs, you don’t need to worry about providing the correct light or nutrients. Once the event is a pleasant memory, you can discard the plants or transplant them to a more appropriate pot or location.
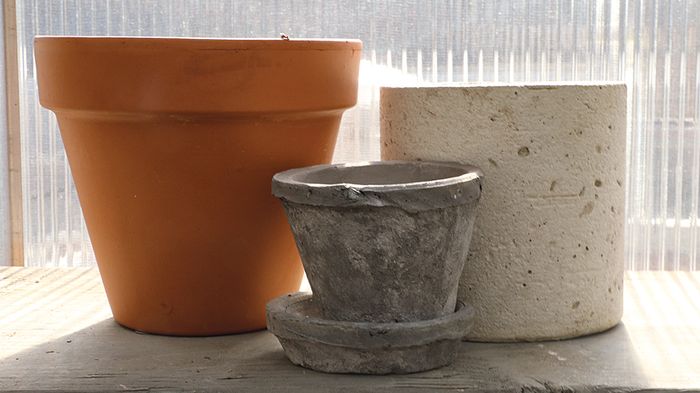
The beauty of a short-term piece, in addition to the low-maintenance demands it places on you, lies in the freedom it provides in choosing plants. If you like how particular succulents, water plants, and tropical flowering plants look together, nothing is stopping you from combining them for a little while. Their different cultural needs simply won’t be a factor. Your choice of container will be wider, too, limited only by your imagination and budget. Ceramic pots, metal cans, sculpture, and anything else with or without a drainage hole can be pressed into service. Just be cautious when watering a container lacking a drainage hole; too much water could result in a sloppy soup.
Pay attention to size and shape
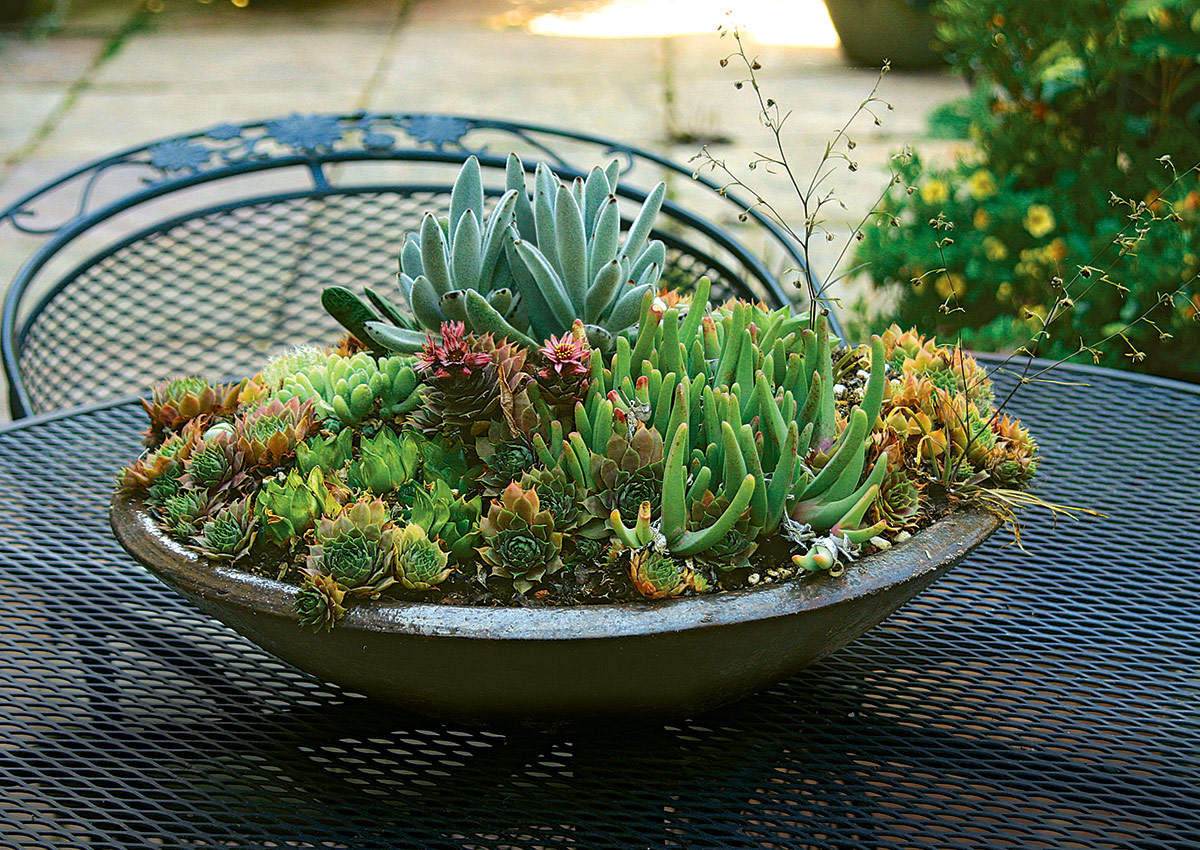
Your next decisions involve shape and size, including the container’s weight and dimensions (width, length, and height). Most well-constructed tables should be able to support a rather heavy planted-and-watered container, but think twice before placing a similar container on a more delicate piece of furniture. If in doubt, reduce the weight of the overall piece by filling part of the container with Styrofoam packing peanuts or other lightweight material before planting it. You could also choose a sturdier table or consider another, less weighty decorative option.
To determine the dimensions of a dining-table centerpiece, measure the space with your tableware in place. For a side-table container, consider the other items located on the table and the walls behind it. Then, record measurements of the height, depth, and width of the available table space before building the container. Determining the dimensions is much easier when composing the piece in place on the side table. Trying to contain the mess made by working with the plants and potting mix, however, often precludes this.
The shape of the container is often a personal preference. I find a piece fits better with its surroundings if the container echoes the shape of the table, such as a rounded pot on a round or oval table and a square or rectangular one on a similarly shaped table.
An irregularly shaped table—one with sinuous curves or one that is a more complicated geometric form, such as an octagon or truncated triangle—might indicate the use of a free-form, hand-built pot or a many-sided one. This is especially true if much of the container is visible. An exuberant mass of plants, however, will disguise its container and make the shape less of a factor. So don’t let the unavailability of a specifically shaped pot prevent you from creating a piece that pleases you and looks beautiful on your table. The “design police” probably won’t be invited to sit at your table, but if they do show up, tell them you hope they enjoy your creation.
5 tips for success with tabletop containers
Like many things in gardening, container plantings can be approached in different ways. Over the years, I have discovered simple tricks for producing tabletop containers that are sure to catch the eye of your guests.
1. Let the container take the lead
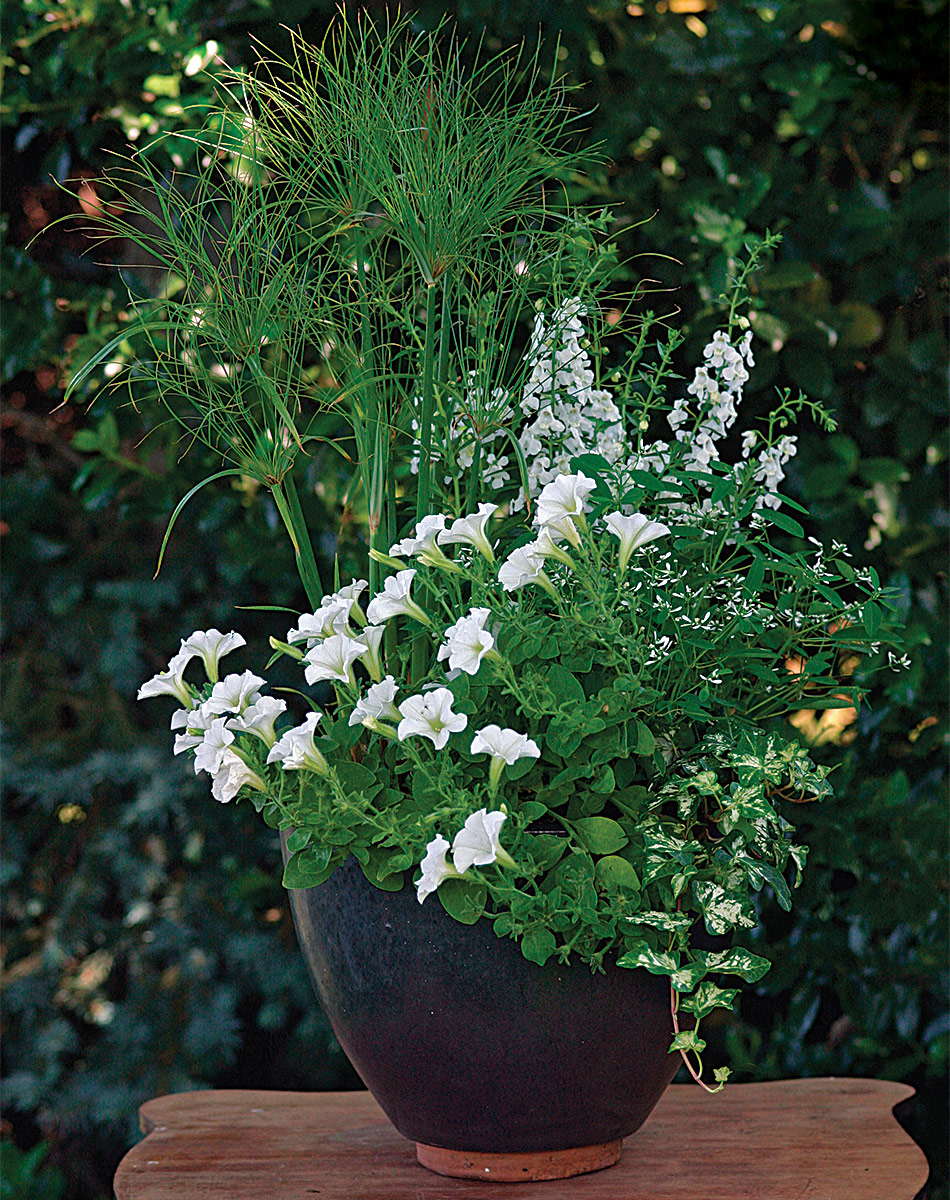
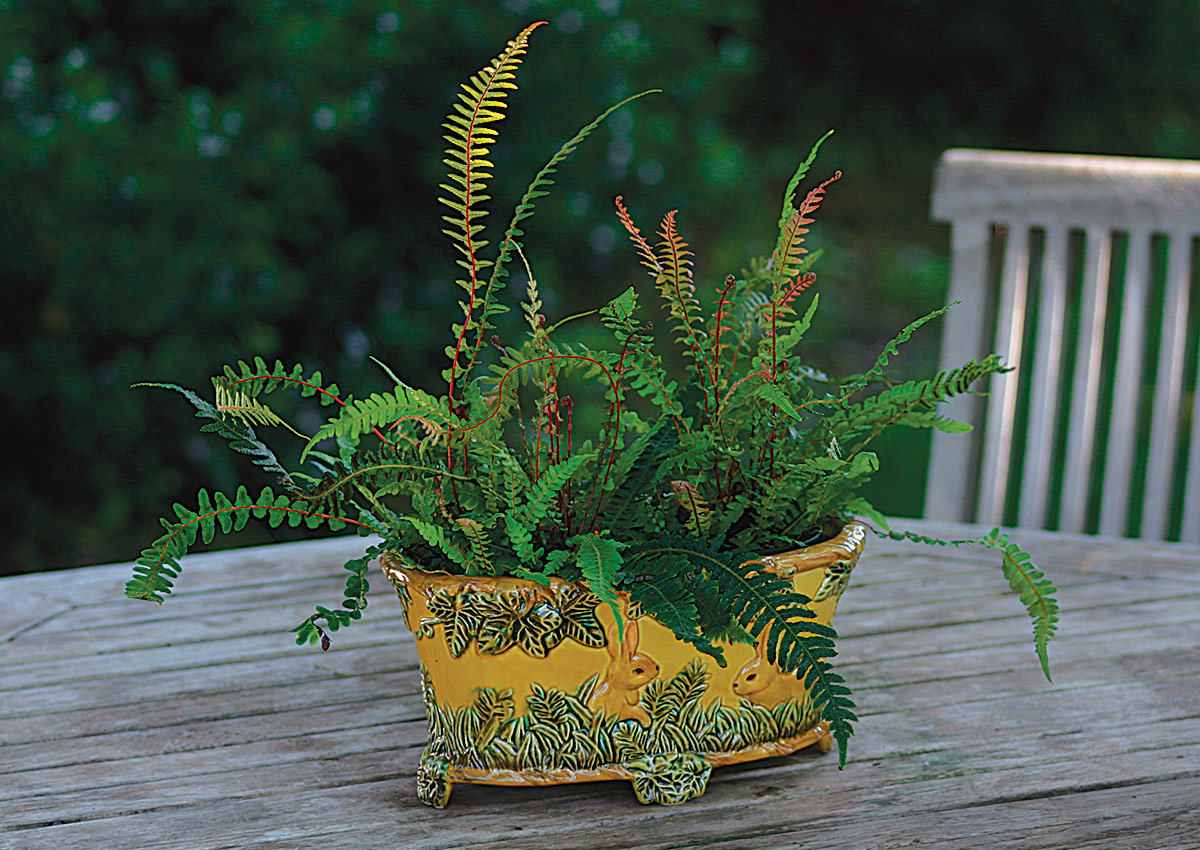
A simple planting can highlight and complement the beauty of a colorful or intricate container. There’s no need for flashy or complicated-looking plantings, which can make the overall design appear chaotic.
2. Pack in plants for impact.
Don’t be afraid to pack plants tightly together to achieve a full or finished appearance in temporary centerpieces. Many plants can withstand the removal of much of the medium from around their roots for several days before showing signs of stress.
3. Rely on foliage for color.
Color doesn’t need to come exclusively from flowers; plenty of plants derive most or all of their color impact from leaves. Foliage plants provide a long-lasting visual impact and are appreciated by guests sensitive to flower fragrances or pollen.
4. Feel free to accessorize.
When it comes to adding pizzazz, think beyond potted plants. Consider including cut or silk flowers, fruit, branches, food, ribbons, candles, decorative rocks, moss, or whatever you like. All these items can be easily removed as they fade or as your mood changes.
5. Camouflage unsightly soil.
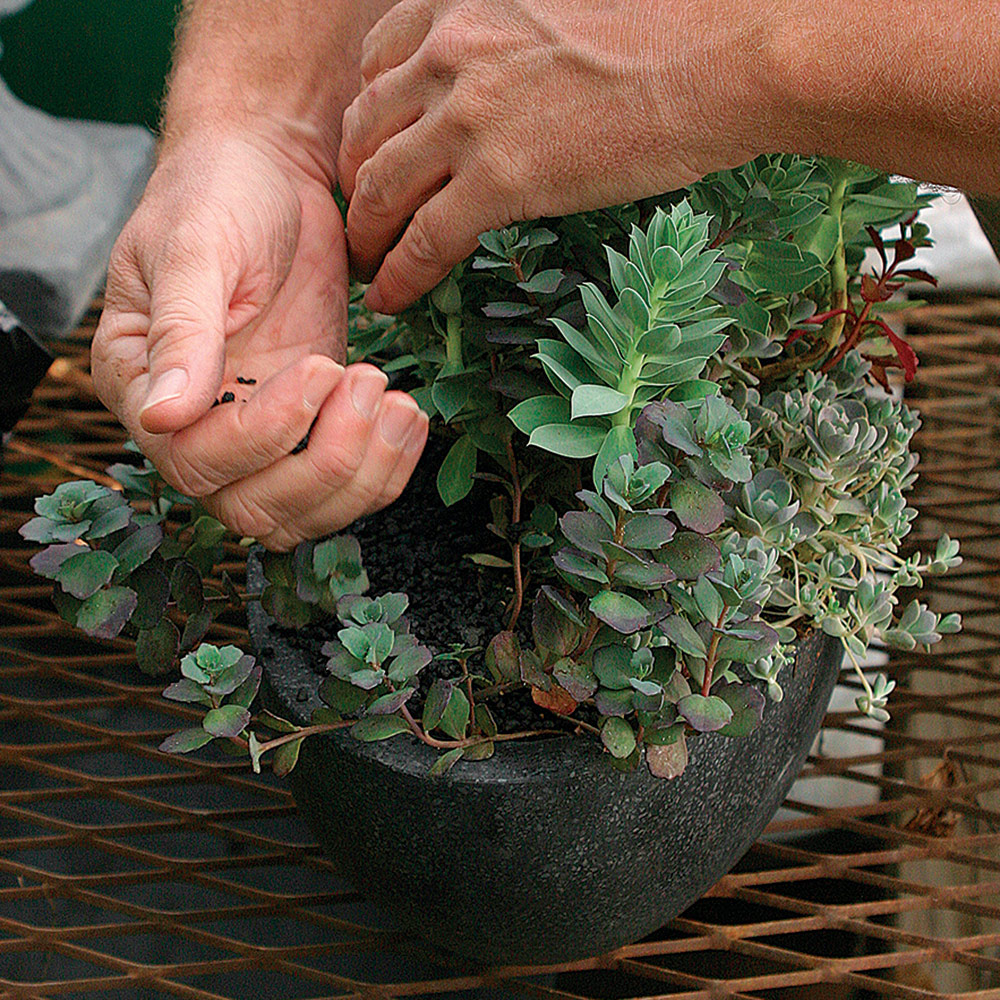
If the thought of seeing naked potting soil at the dining table doesn’t sit well with you, consider topdressing your pot with inexpensive aquarium gravel. It comes in many colors (deep brown and black are among my favorites), gives tabletop containers a polished look, and prevents soil from splashing onto the table when watering.
Determining the dimensions of a dining-table centerpiece
Although you want your dining-table centerpiece to draw attention, you do not want it to be an obstacle for your guests. To determine the right size for your table, follow these guidelines to help you create a conversation piece rather than an annoyance.
Make sure you have elbow room
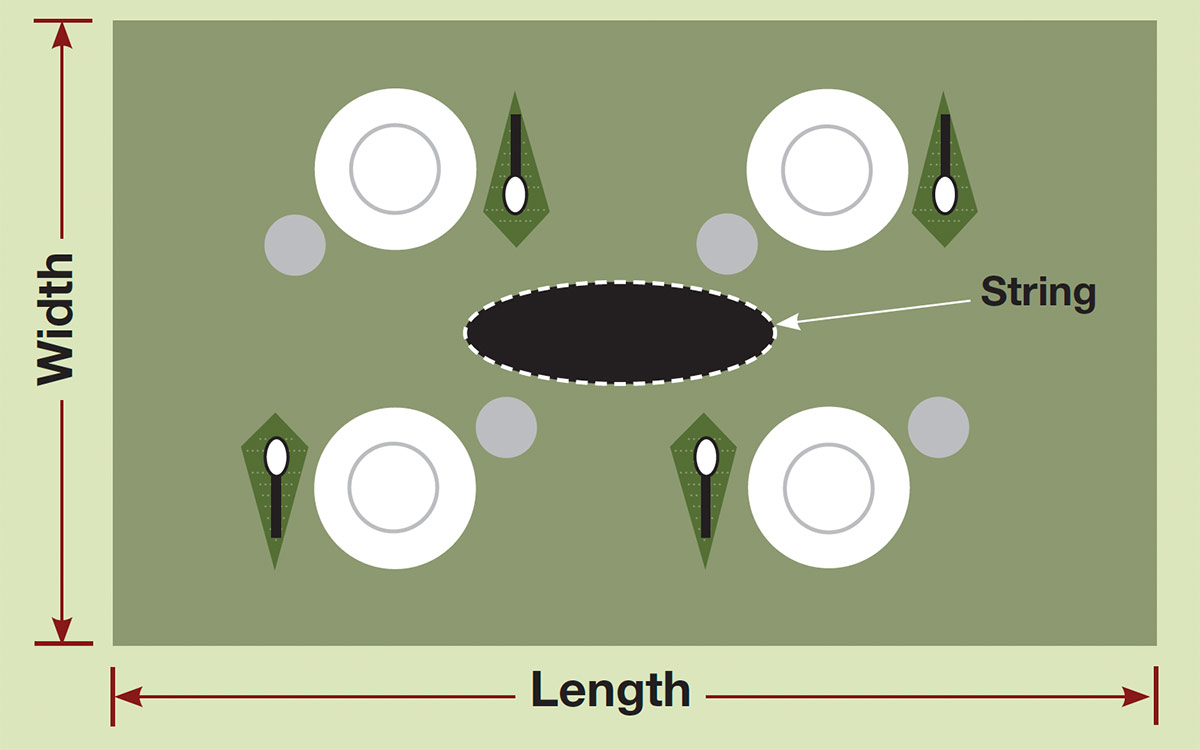
To determine the maximum width and length of a dining-table centerpiece, set the table fully, placing a dinner plate or large serving platter in the middle of the table. Then, see how much space can be left around the central plate without crowding any of the serving pieces, stemware, and any other items above the plates. Mark the area with string or something of a similar shape, and measure the area for the container’s width and length.
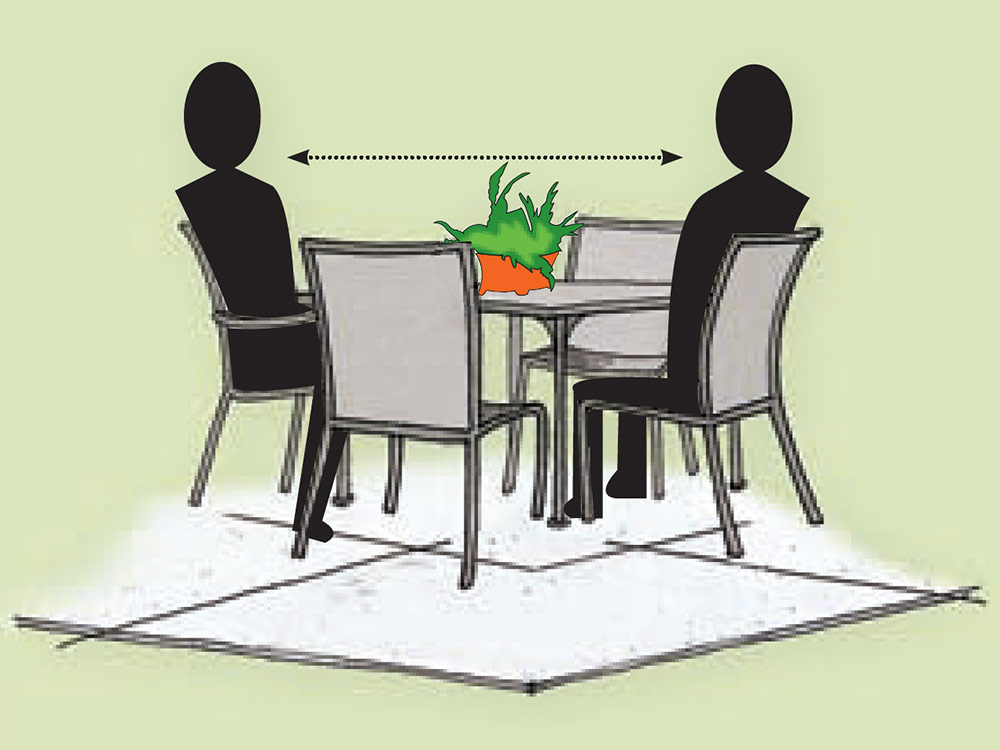
Keep the height below eye level
To determine the maximum height of a dining-table piece, sit at the table with someone of average height sitting across from you. Stack items in the middle of the table until they reach the level of the other person’s chin, then measure and record the height. Use the determined height as a guideline when composing your container.
Ray Rogers lives in North Brunswick, New Jersey, and is the author of The Encyclopedia of Container Plants.
Photos, except where noted: Jennifer Benner



Comments
Log in or create an account to post a comment.
Sign up Log in