Space-Saving Seed Starting
This germination technique makes use of materials you already have in your home
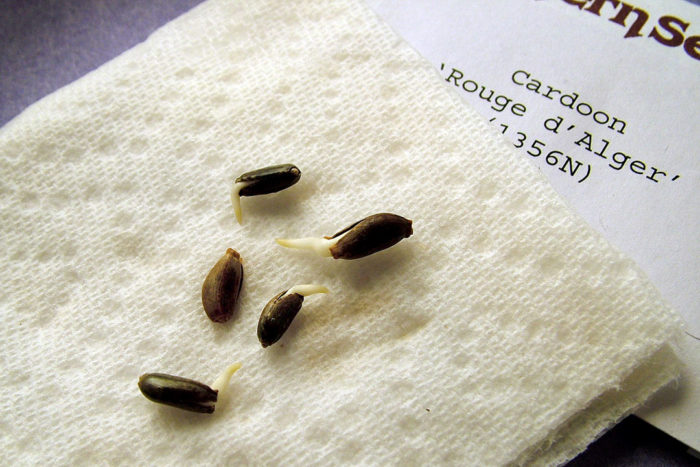
Once you’ve experienced the thrill of growing plants from seed, you’ve opened up a whole world of possibilities for your garden. For a fraction of what you’d pay for a few new plants, you can grow dozens or even hundreds of seedlings—enough to pack your beds, borders, and containers with flowers and foliage without spending a fortune. Seeds give you access to rarities you just can’t buy as plants, to old favorites that garden centers don’t carry anymore, and to heirloom varieties that big growers overlook in favor of the latest new introductions.
The possibilities seeds offer are unlimited. For most of us, though, the space we have available for growing them is anything but unlimited—particularly for seeds of perennials and woody plants, which may take months to finally germinate. Instead of having trays full of pots sitting around season after season and needing frequent attention, watering, and protection from mice and other critters, there’s an elegantly simple, space-saving option: the paper-towel technique.
You may have used this method on previous years’ seeds to test the germination rate of a small sample before you sowed the rest in your garden. Sowing on paper towels is more than just a way to indulge your scientific curiosity, though. It’s a viable alternative to traditional seed-sowing in a number of situations:
- Providing optimal germination conditions for quick-sprouting seeds, such as peas, beans, and annual sunflowers (Helianthus annuus, annual).
- Providing special care for rare or expensive seeds so you can be sure they won’t be ruined by a missed watering or exposure to pests or disease during the germination process.
- Saving space in your refrigerator when you’re trying to give a chilling period to seeds that need or benefit from exposure to cold temperatures, such as columbines (Aquilegia spp. and cvs., Zones 3–9) and milkweeds (Asclepias spp. and cvs., Zones 3–9).
- More easily managing multicycle germinators (seeds that need alternating warm and cold periods), such as hellebores (Helleborus spp. and cvs., Zones 4–9).
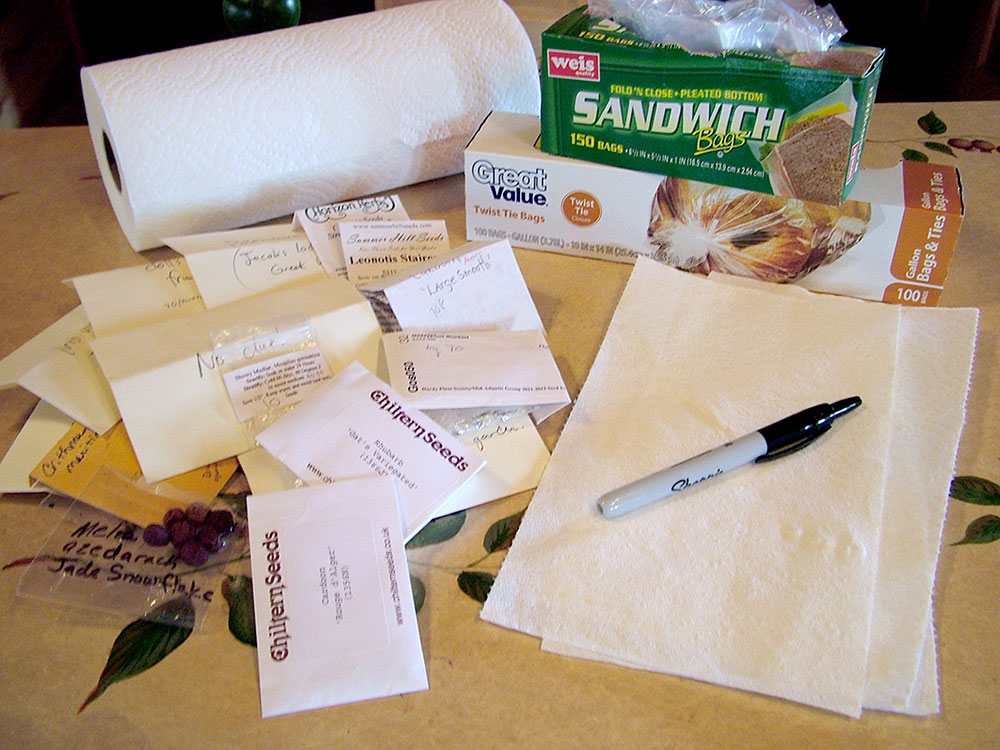
Ready to give it a try? Gather the seeds you want to work with, a fine-tipped permanent marker, a roll of paper towels, and some plastic sandwich or storage bags. Choose high-quality paper towels, because you’ll be handling them when they’re wet, and cheap ones can tear easily. Or use coffee filters instead.
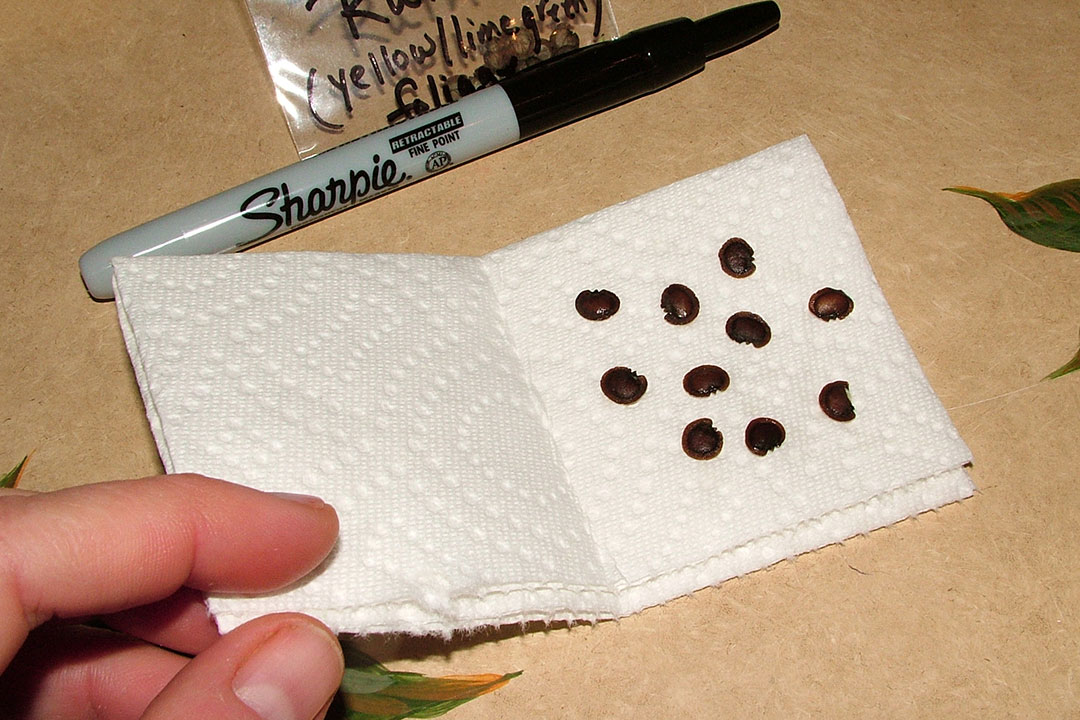
Moisten the paper towel (either before or after you place the seeds on it), and let any excess water drip away for a few seconds. Slide the towel into a plastic bag and close the top.
Add a label with the seed name and sowing date, and whatever else you want to remember. If you’re working only with annual and vegetable seeds, which tend to sprout quickly, you can write directly on the paper towel before wetting it. Then you can put several kinds of seed in one bag and not worry about getting them mixed up. For perennial and woody-plant seeds, I highly recommend putting only one kind in each bag and writing on the bag. That way, if the paper towel starts to fall apart, smell, or get a bit moldy, you can move the seeds to a fresh towel without losing the sowing information.
Set the bags where the seeds will get their optimal germinating conditions: in a warm spot out of direct sunlight, or in your refrigerator for seeds that need a cold period. Give the seeds in the warm area about three days, then start opening the bag every day or two to check for sprouting. When you see the seeds start to split, or root tips emerging, carefully move them to pots of growing medium, ideally within a day or two. If you wait too long, the roots may get tangled or grow into the paper towel, making it difficult to remove them without damage.

Give chilled seeds about a month in your refrigerator, then check them once a week to make sure the paper towel is still damp. If any seeds start sprouting during the cold period, remove and plant them. Otherwise, wait until the recommended chilling period is over, then move them to a warm place. Pot them up, or leave them in the moist towel and check them every few days until sprouting occurs.
Success with this technique requires a sense of routine, to keep up with the regular checking and to deal with the seeds as soon as they begin sprouting. And I wouldn’t recommend this process for tiny seeds, because it’s so difficult to transfer them to a pot without harming their delicate roots. If you’re looking to optimize your seed-sowing results without dealing with lots of “empty” seed pots sitting around, though, this simple, space-saving approach is definitely worth a try.
—Nancy J. Ondra is the author of over fifteen books, including Grasses, The Perennial Care Manual, and The Perennial Matchmaker.
Fine Gardening Recommended Products
Black and Decker 22-inch Cordless Hedge Trimmer
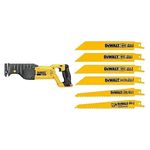
DeWalt Variable-Speed Cordless Reciprocating Saw with 6-Piece Saw Blade Set
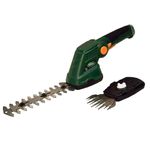
Scotts Cordless Grass-Shear/Shrub-Trimmer Combo
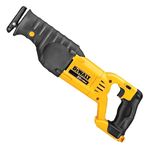
DeWalt Variable-Speed Cordless Reciprocating Saw



Comments
Log in or create an account to post a comment.
Sign up Log in