How to Grow the Best Watermelon From Seed
No garden is complete without this sweet, crunchy fruit
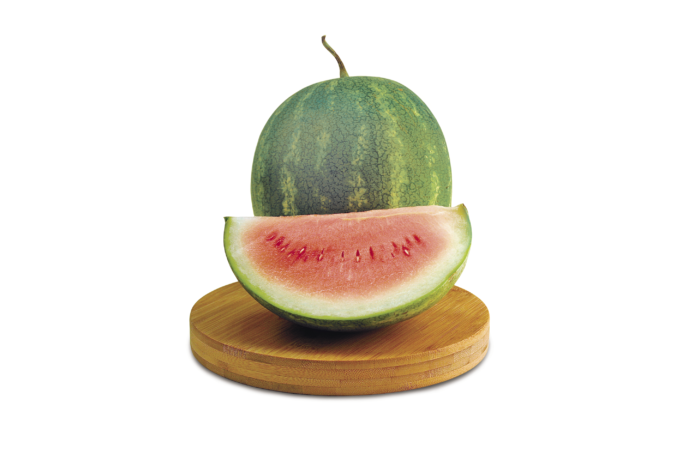
On hot summer afternoons, we didn’t need much more than the shade of a mimosa tree and a watermelon to stay cool. My grandfather would split one open, spear the flesh with his fingers, and pull out a chunk. We ate it with our hands and weren’t afraid to make a mess. Watermelon and I were a match made in heaven—literally, it turns out. Little did I know, then, that I would grow up to marry a watermelon farmer whose family has grown the fruit for the past 90 years.
Though it would be easy enough to bring home watermelons from the field, we enjoy growing them in the garden beside the house. Breeding has reduced watermelons’ demand for luxury berths in the garden. And they can even be trellised. When you pick and eat a perfectly ripe watermelon from your own garden, you will understand the meaning of homegrown fun.
Watermelon Growing Tips
Wet soil promotes rot. Watermelons are best sited in well-drained soil, so plant them in mounds to avoid wet feet.
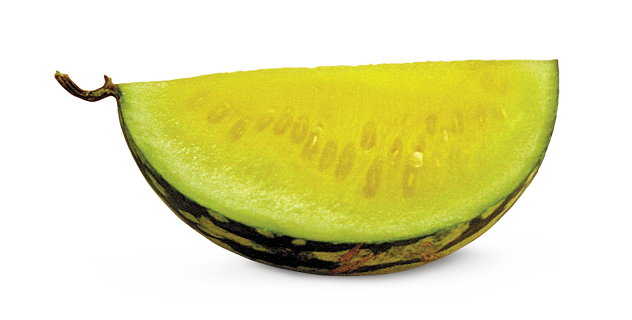
Sunscald damages fruit. If you see a yellow patch on the top of a melon, it’s sunburn. Stop the issue from ruining the fruit completely by covering the melons with a basket or cloth.
Gummy stem blight kills vines. To avoid this deadly disease, plant resistant varieties, rotate crops, and space plants properly.
Beetles target young plants. Cucumber beetles do the most damage in early spring. Handpick them to eliminate the threat.
Which watermelon variety is best?
What type of watermelon you grow largely depends on what type of flavor you prefer, where you live, and how big of a fruit you want to harvest. The following criteria can help you decide which variety will lead to the best success.
Watermelon varieties: Seeded vs. seeded
Seedless fruit take special effort because they don’t produce their own pollen. They require the company of a pollinator, which can be any seeded variety. Every third plant in a row of seedless watermelons should be a seeded variety. Choose a pollinator with different surface markings so that it’s easy to tell at picking time which have seeds and which do not.
With seedless varieties, I especially prefer transplants. The seeds are more expensive, and they are fussy about germinating. The seed coat tends to adhere to the cotyledons and needs to be removed so that growth isn’t hindered. Whatever extra work is involved is worth it, though, because I love the taste of these melons and don’t have to pick out the seeds for my children.
The best watermelon variety for you depends on your climate
Larger watermelon varieties need a long growth season
The 25-pound behemoths—such as ‘Crimson Sweet’, a round, dark pink–fleshed melon with medium green stripes, and ‘Royal Majesty’, also red-fleshed but oblong—require 6-foot-long by 4-foot-wide garden plots for each plant. Larger varieties typically take 85 to 120 days to mature.
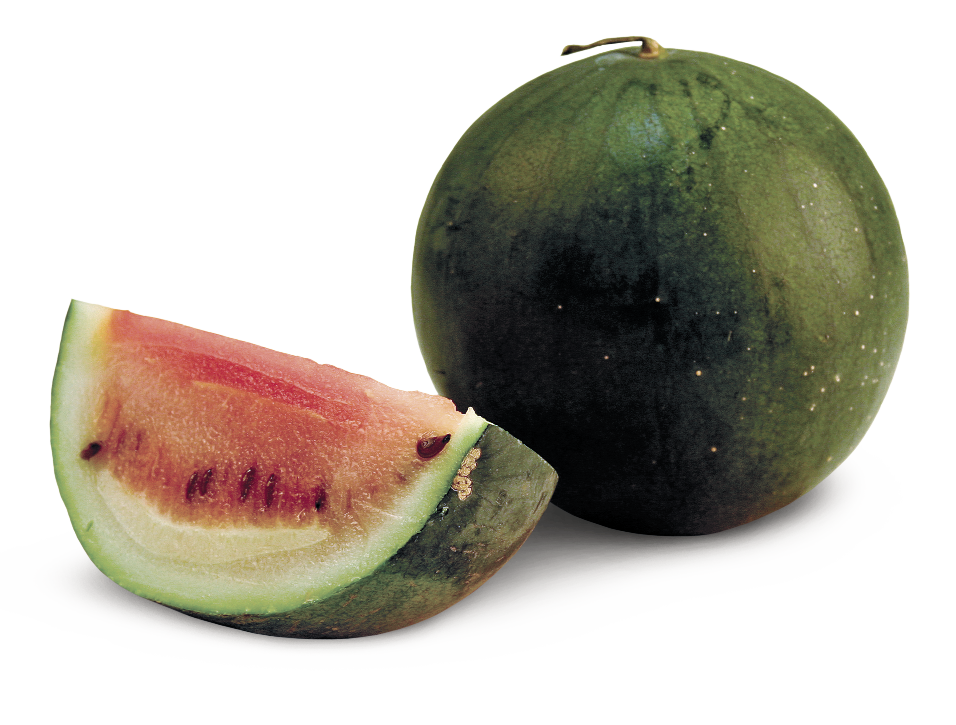
Icebox watermelon varieties are good for a shorter season
Although a warm-climate crop, watermelon can be grown in northern areas if you have the right variety. Icebox types, like ‘Sugar Baby’, ‘Yellow Doll’, and ‘Tiger Baby’, mature in 75 to 85 days, which should be enough time for a bountiful harvest. Don’t rush watermelon seed into the ground in cool weather; it will just idle until warm weather arrives.
Planting watermelons successfully
Transplants are a better option for growing watermelons in cool climates because they allow you to get a jump on the season.
Starting watermelons with transplants or seeds
Transplants are great because the plants bear watermelons about a week sooner than their direct-seeded counterparts. Start seeds four weeks before you plan to plant in the garden. Watermelon seed germinates well at temperatures from 70°F to 95°F and takes four to six days to emerge.
Harden off transplants by reducing the frequency of watering to slow their growth, and move the plants to an area with cooler temperatures for about a week. Transplants ready for the garden will be 4 to 5 inches tall with two or three true leaves. Set them out in well-drained soil. Watermelon plants don’t like “wet feet” and are great candidates for raised beds or mounded-soil hills.
Steps for direct-sowing watermelons
Direct-sowing watermelon seeds is a good option for those living in warmer spots where the growing season is longer.
Most folks opt to direct-sow their watermelon seeds right into the garden because it’s quick and easy. Just make sure that the soil has warmed up enough. If you can stand comfortably in bare feet on the soil, it’s likely toasty enough for the seeds to sprout.
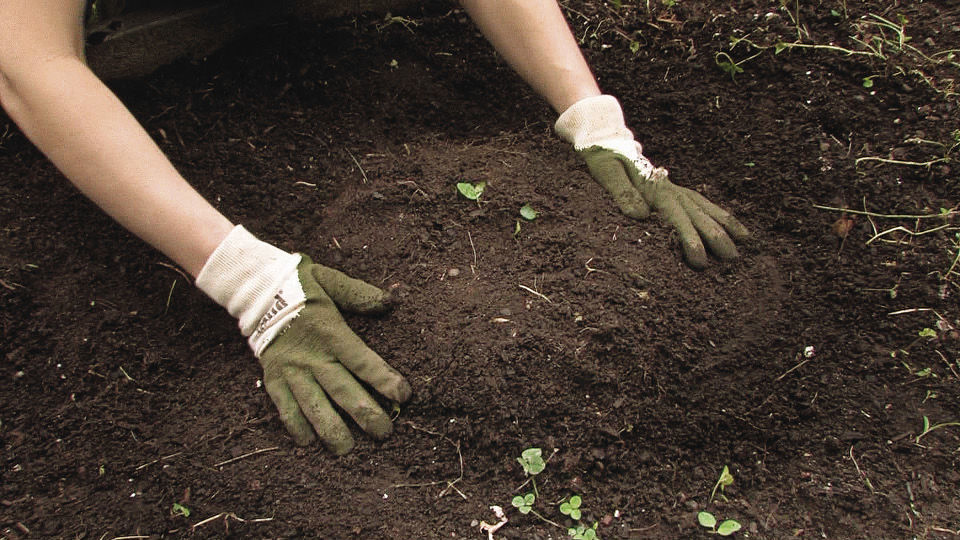
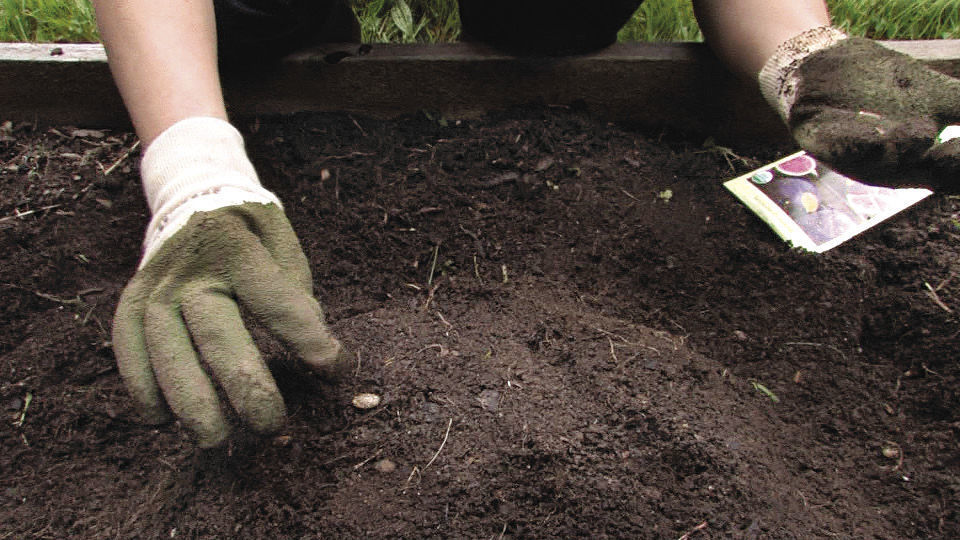
1. Make a mound of rich, fertile soil.
Because these plants like good drainage, pile your compost-amended soil into a hill approximately a foot across.
2. Direct-sow three to four seeds per mound.
Germination can be iffy with this crop, so hedge your bets by sowing more seeds than needed.
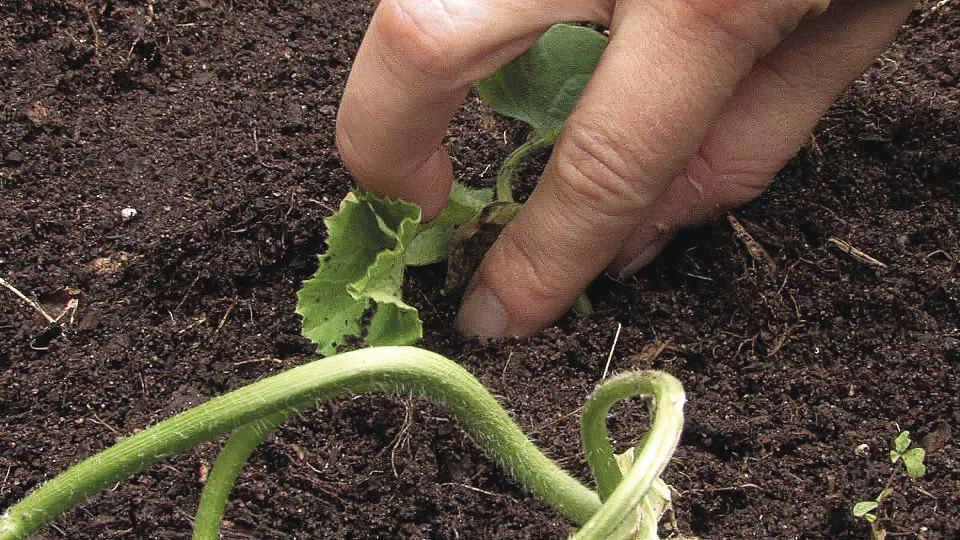
3. Pinch out all but the strongest plants.
If more than one seed sprouts atop the mound, remove the weaker seedlings, leaving behind the best-looking plant.
4. Watch for fruit.
Your healthy plant should start fruiting in six to eight weeks. It won’t be ready for harvest, though, for several more weeks.
Caring for watermelon plants
Watering, fertilizing, and supporting the fruit are all steps that lead to a robust watermelon harvest. And if you get to the finish line, there are a few tell-tale signs to look for to ensure your melons are ready to pick.
How to feed and support watermelons
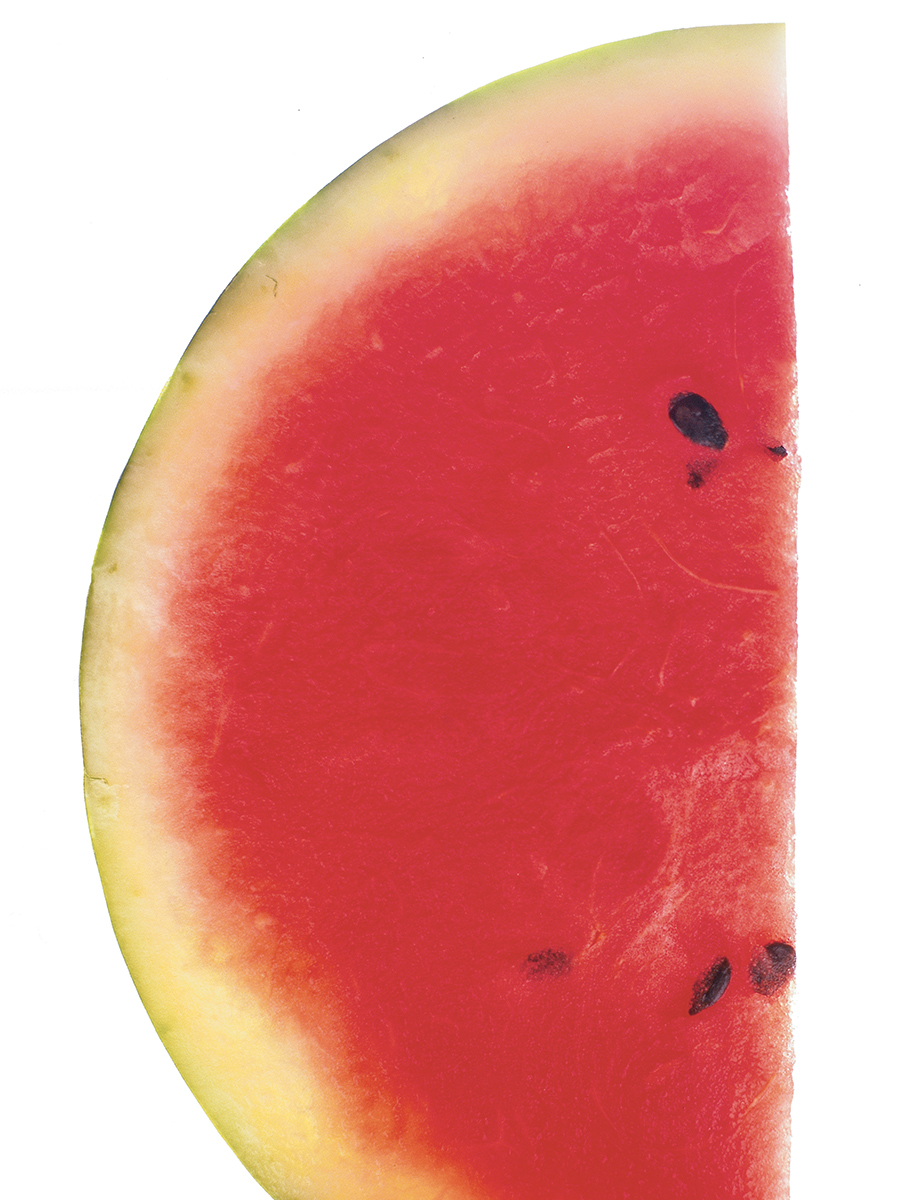
Watermelons need steady watering throughout the season—at least 1 inch of water per week. Blossom-end rot, caused by a calcium deficiency during fruit development, can be a problem. Maintaining the proper soil moisture makes calcium available when it’s needed.
Watermelons are heavy feeders and might need a boost if you don’t have rich soil. Laying down 3 pounds of 10–10–10 fertilizer (or the organic equivalent) per 100 square feet just prior to planting is ideal. A little side dressing when the vines begin to run, and a little more after the first fruit is harvested, might be in order as well.
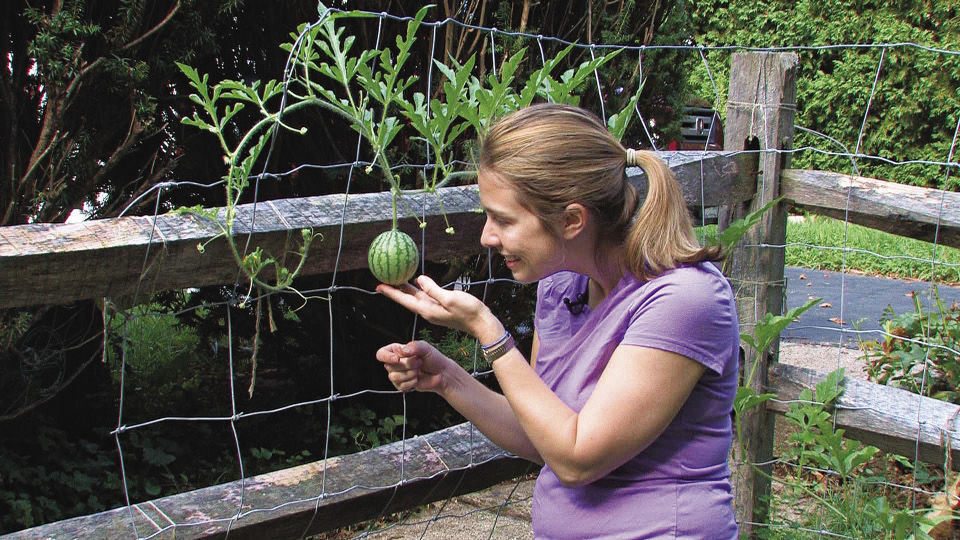
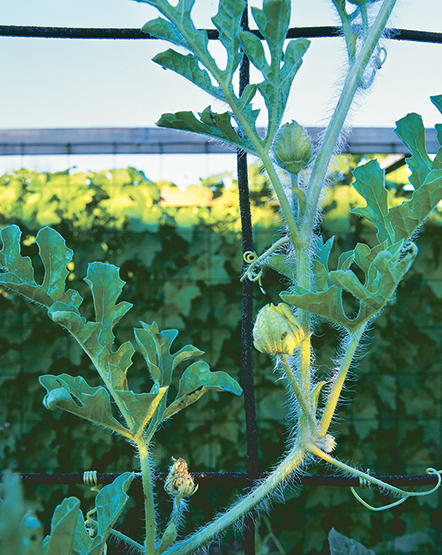
If you’re wondering what you’d have to push out of your garden to make room for watermelon, don’t despair: Train your watermelons to climb. As the vines begin to run, send them up a sturdy trellis. You’ll need to tie the runners to the trellis, though, because watermelons are not natural climbers.
Once the plants set fruit, support the burgeoning melons with slings, which can be made with cheesecloth, nylon stockings, or old T-shirts. If the sling completely covers the fruit, it provides protection from insects. In addition to saving space, trellising improves air circulation and helps prevent disease.
When are watermelons ready to pick?
Although determining the optimal maturity of a watermelon can be difficult, the plant provides clues. First, inspect the curly tendril near where the watermelon attaches at the stem. It should be dead or brown. Second, turn the melon on its side and inspect its belly. The underside of the watermelon should be creamy white for seeded varieties and golden yellow for seedless varieties. Third, thump. A ripe melon should deliver a deep, low-pitched sound. This has always been a popular way to detect ripeness, but I have found it takes years of experience to determine the correct sound.
Finally, take notice of the color of the skin. Watermelons have a shiny, bright green color on the outside as they grow; when a watermelon matures, this coloring will dull. This method of determining ripeness also takes practice. It amazes me to watch my father-in-law harvest watermelons: He can stand at a distance and be able to tell if a watermelon is ripe. He teases me, because although I have had quite a bit of experience harvesting, I still check for the brown tendril and the color of the belly to be sure it’s ready.
Tracy Wootten is an extension agent at the University of Delaware Carvel Research and Education Center in Georgetown, Delaware.
Photos, except where noted: Steven Cominsky





Comments
Log in or create an account to post a comment.
Sign up Log in