Demystifying Compost: More Composting Questions Answered
Get the real scoop on your common conundrums
Composting has become big business, with tumblers, turners, starters, and more flooding the garden marketplace every day. Composting is indeed fascinating and hobby-worthy, and some gardeners are so passionate about all things compost that they are willing to spend upward of $500 for bins and accessories. More power to the passionate! But for those who may be intimidated by the process or by accessories touted as necessary, let’s separate fact from fiction.
Learn more: 6 Ways to Make Compost
Do I need to purchase an expensive composter?
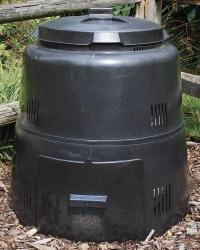
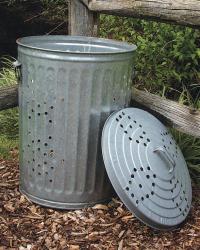
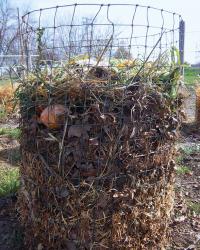
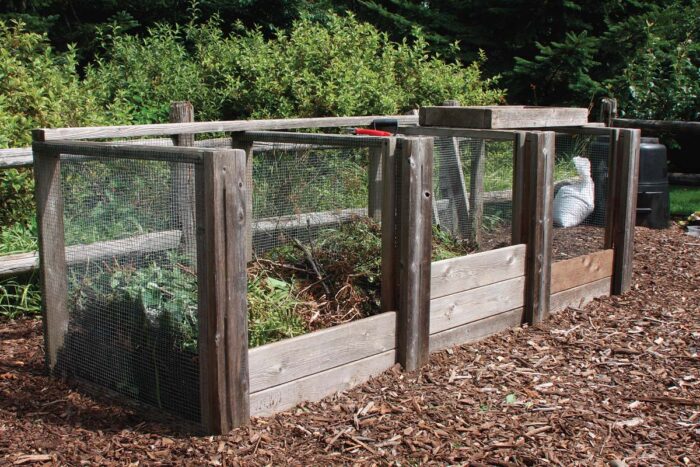
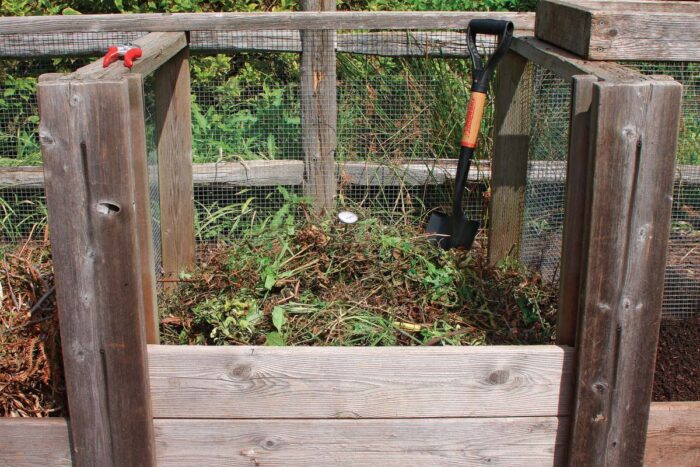
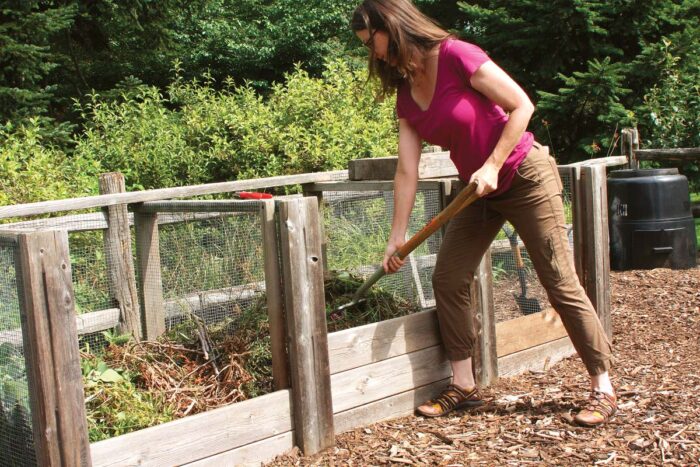
No. Composting happens all the time in nature without our help. A $400 elevated and insulated tumbler is not necessary to create good compost. Composting does, however, require a few things: organic matter of a compostable size, periodic moisture, good drainage, and a method to keep critters out (if that is a problem for you). If all of us had unlimited space and a tractor with a front loader, we could have lovely windrows of compost. But many of us simply want an easy way to corral our pile of debris. A single wooden or mesh-wire bin or a compost pile surrounded by a wire ring both work, though they are a bit awkward to turn. If space and time allow, build three three-sided bins next to one another. Dispose of and turn debris in the first; transfer and turn decaying material in the second; and move decayed, ready-to-use compost to the third.
If you have the space, place two or more three-sided slatted bins next to one another; that way, you can scoop debris back and forth from bin to bin. If you live in an apartment or condo and the only place you have for a composter is a patio or terrace, then there is obviously a need for a covered bin. But here’s the catch: Small composters such as rolling bins, tumblers, and stationary bins fill quickly and have to be turned frequently. Of course, the biggest advantage to an enclosed compost pile is that it excludes unwanted wildlife. But if your intention is simply to reduce degradable waste, who cares if a possum carries off some potato peels? If varmints are a concern, be sure your compost pile is enclosed.
Is a compost starter necessary?
You do not need to spend $10 to $20 to get your pile started. There are plenty of microbes available for free. In fact, there are microbes in just about everything we throw on our compost pile—think of all those uneaten tomatoes disintegrating on the kitchen counter. If you are starting a brand-new pile, a shovelful of leaf mold or other naturally composted matter from the woods is a great source of the bacteria and fungi needed to get things going. In an older pile, the compost and soil are chock-full of all the fungi and bacteria you need to break down organic matter; scoop from the bottom and sprinkle on top as you turn.
What’s all the fuss about carbon and nitrogen?
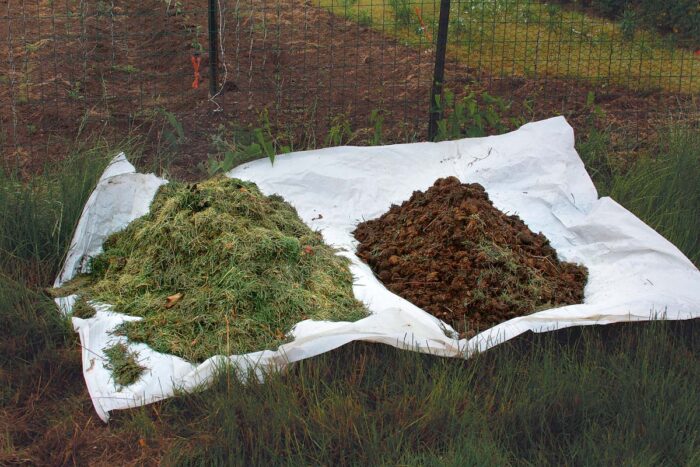
Aerobic bacteria, the workhorses of decomposition, need carbon and nitrogen to do their job. Experts recommend a carbon-to-nitrogen ratio of 25:1 to 30:1 for the fastest breakdown of materials; however, the numbers just need to be in the ballpark. The general rule is to have enough greens for your browns. Typically, green, fresh, and colorful debris provides a good source of nitrogen. Coffee grounds are an exception; they are full of nitrogen. Other browns and beiges—chopped-up autumn leaves and twigs, wood chips, and straw—provide carbon. Although a pile of autumn leaves will eventually break down on its own, adding some high-nitrogen lawn clippings, vegetable scraps, and coffee grounds will speed things along. If your pile is just sitting there as recognizable chunks, you may need more nitrogen-heavy additions. If it’s working up a big stink, back off on the nitrogen and add more carbon-rich items, such as leaves and straw. If you’re adding both kitchen waste, which is typically high in nitrogen, and yard waste, which is generally high in carbon, then your pile should be in good shape as long as you mix the waste before or after adding it to the pile. And contrary to some beliefs, there is no need to add lime to compost. Many microbes are most active at a moderately low pH.
The essentials of composting
Chop it up: It’s best to chop large waste into leaf-size chunks. Big sticks and whole pumpkins will eventually compost, but they will take a while.
Keep it moist: A compost pile is a living thing that needs water to survive. For most of the country, normal rainfall will provide sufficient moisture. Turn a hose on the pile periodically if gardening in an area with reduced rainfall or prolonged drought. The interior of the pile should feel slightly moist.
Be sure it drains: Place the pile on a bit of a slope so that water does not pool at the base. Stagnant, or anaerobic, water encourages bacteria that creates odors. Good air circulation around the compost pile will also help avoid a soggy bottom and, therefore, reduce odors.
Can I compost weeds?
Yes. But what about the seeds, you ask? The key is to pull weeds before they set seed. There’s hope, though, if you miss that often narrow window of opportunity (as many of us do). Once your compost pile gets rolling and hits 130°F, that’s enough to kill the seeds of many species. The Weed Science Society of America, however, recommends up to 30 days at 145°F or more to disarm some tougher seeds, such as lamb’s-quarters (Chenopodium album), field bindweed (Convolvulus arvensis), and broadleaf dock (Rumex obtusifolius). Remember that even if your pile doesn’t get that hot, weed seeds will probably germinate and die as soon as you turn the pile and bury them. The same is true for spores of fungal pathogens. And the bigger the pile, the hotter the middle will be.
Is it necessary to turn my compost pile all the time?
If you are creating compost to use in the garden, more frequent turning accelerates the decomposition process. If waste reduction is your goal, turn the pile every once in a while. For those who are not interested in expending much effort at all, just keep piling it on. If you have a reasonable carbon to nitrogen mix to start with, decay happens—it just takes longer in an unturned pile.
Is it all right to compost meat, bones, and fat?
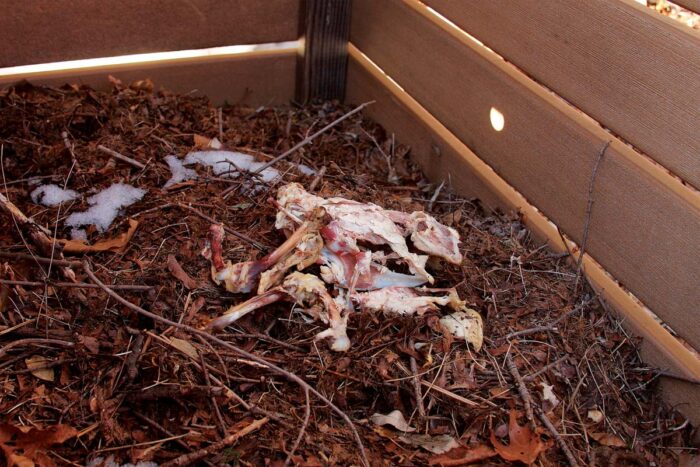
No doubt we have all heard the cardinal rule that we cannot toss animal parts into a compost pile. This is not necessarily true. Poultry farmers have been composting chicken carcasses for decades. Dairy and hog farms are giving it a try, and it may now be more feasible for the backyard gardener than previously thought. Recent research by Lynne Carpenter-Boggs of Washington State University on mortality composting (composting animal parts) demonstrates that potentially pathogenic bacteria and viruses from animal scraps are killed after three days of compost temperatures of at least 131°F. To avoid odors from animal products, put the waste in the middle of the pile—where the heat is—with plenty of carbon-heavy materials piled on top. If your concern is that wildlife (or your own pets) may be drawn to the pile, then using animal scraps may be more trouble than it’s worth.
Do I really have to take my compost’s temperature?

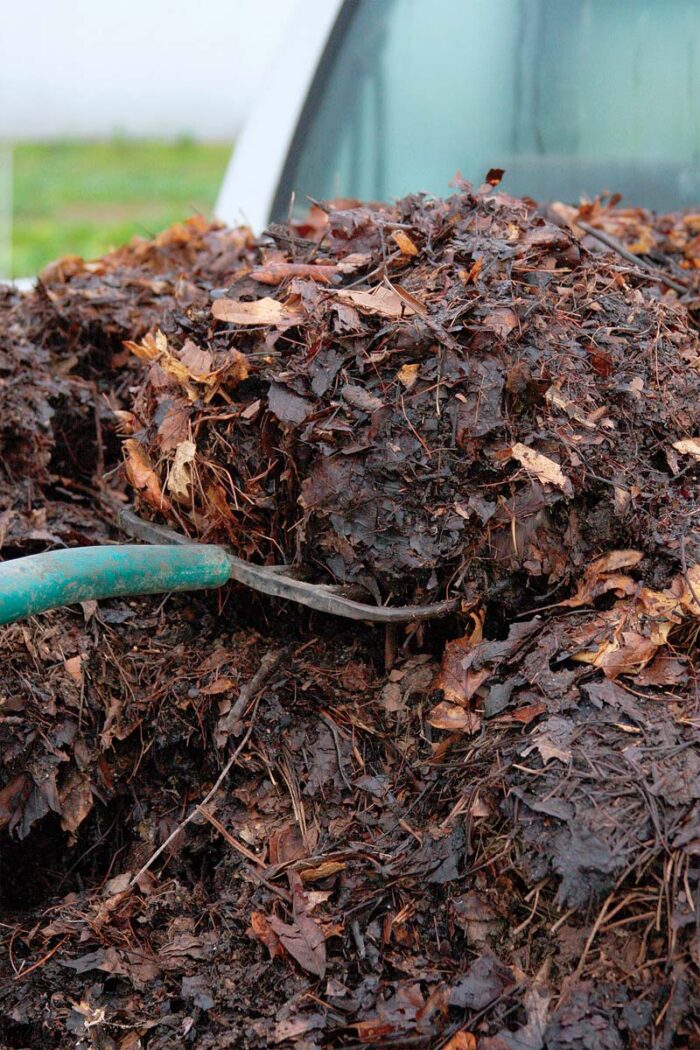
Thermometers are the most useful of all composting accessories. That’s because temperature determines how far along in the decaying process the compost is and when it is ready to use in the garden. The more the debris has decayed, the better the compost. Maximum decomposition occurs at temperatures between 110°F and 155°F. If you have a sizable pile, purchase a commercial thermometer with a 3-foot-long stem. Don’t want to spring for a thermometer? Long arms work well if you’re willing to stick your hand into the middle of the pile. Hot? Great! Cold? Add more high-nitrogen amendments, like a shovelful of lawn clippings or vegetable scraps, along with a scoop of woodland duff and a drink of water and your pile is off to the decomposition races.




Comments
Log in or create an account to post a comment.
Sign up Log in